


I had the opportunity to visit a glass blowing studio last week in Beacon, NY. It is something I have always wanted to try, and I brought along Nicole, an old art director friend of mine who I hadn’t seen in ages.
The studio, called Hudson Beach Glass, is a three-generation, family-run business started in 1987 located in a restored firehouse. They are a relatively small operation with one oven, one bench and one annealer. Due to the nature of the process, this allows only one person to work on a project at a time. You go in and out of the oven several times, rather quickly; it’s just too dangerous to have multiple, four foot long pipes with hot glass waving around. All of this is to say that if you go with a friend, be sure to get back-to-back appointments so you can get the safety instructions together and then take pics of each other (like we did :-))
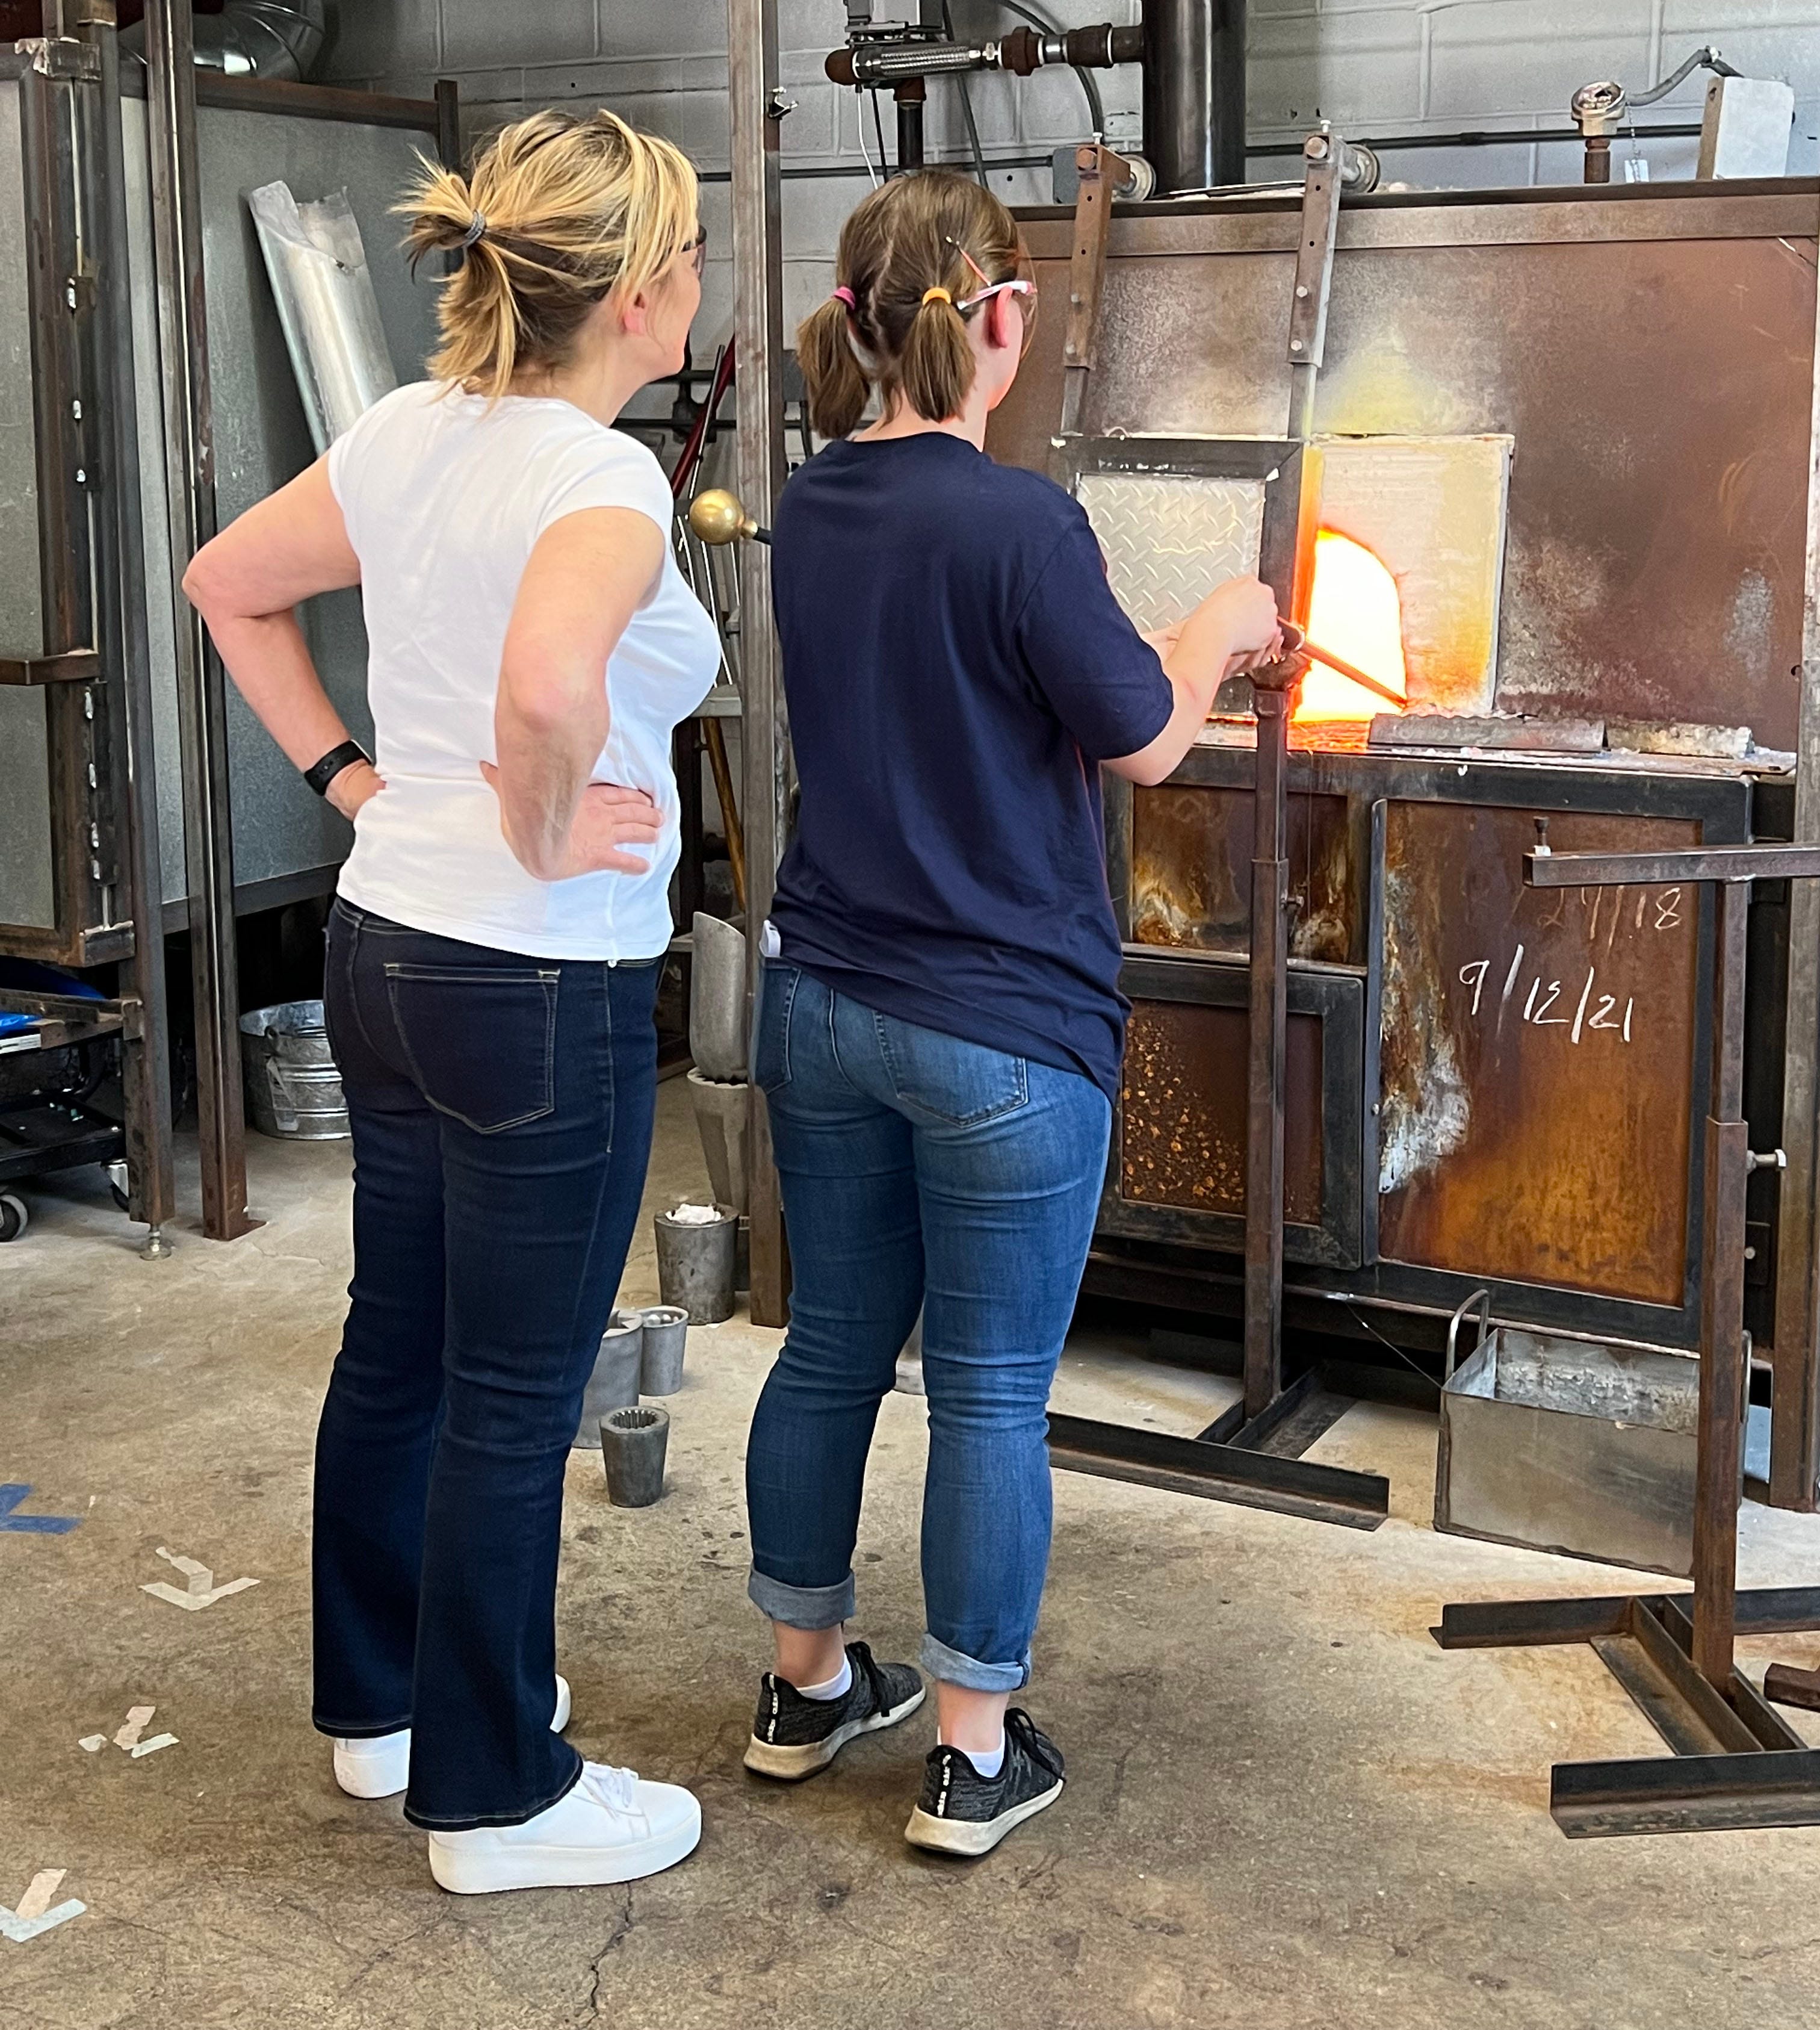
We opted to make paper weights. The first thing I learned was there was no actual blowing; we were going to be “hot sculpting.” The second was the oven is HOT! Hot hot hot. 2200º degrees hot. Somehow I failed to read that part on the confirmation email, and I wasn’t appropriately dressed in layers as they suggested. Luckily, we were able to open up the big garage doors so there was a beautiful breeze.
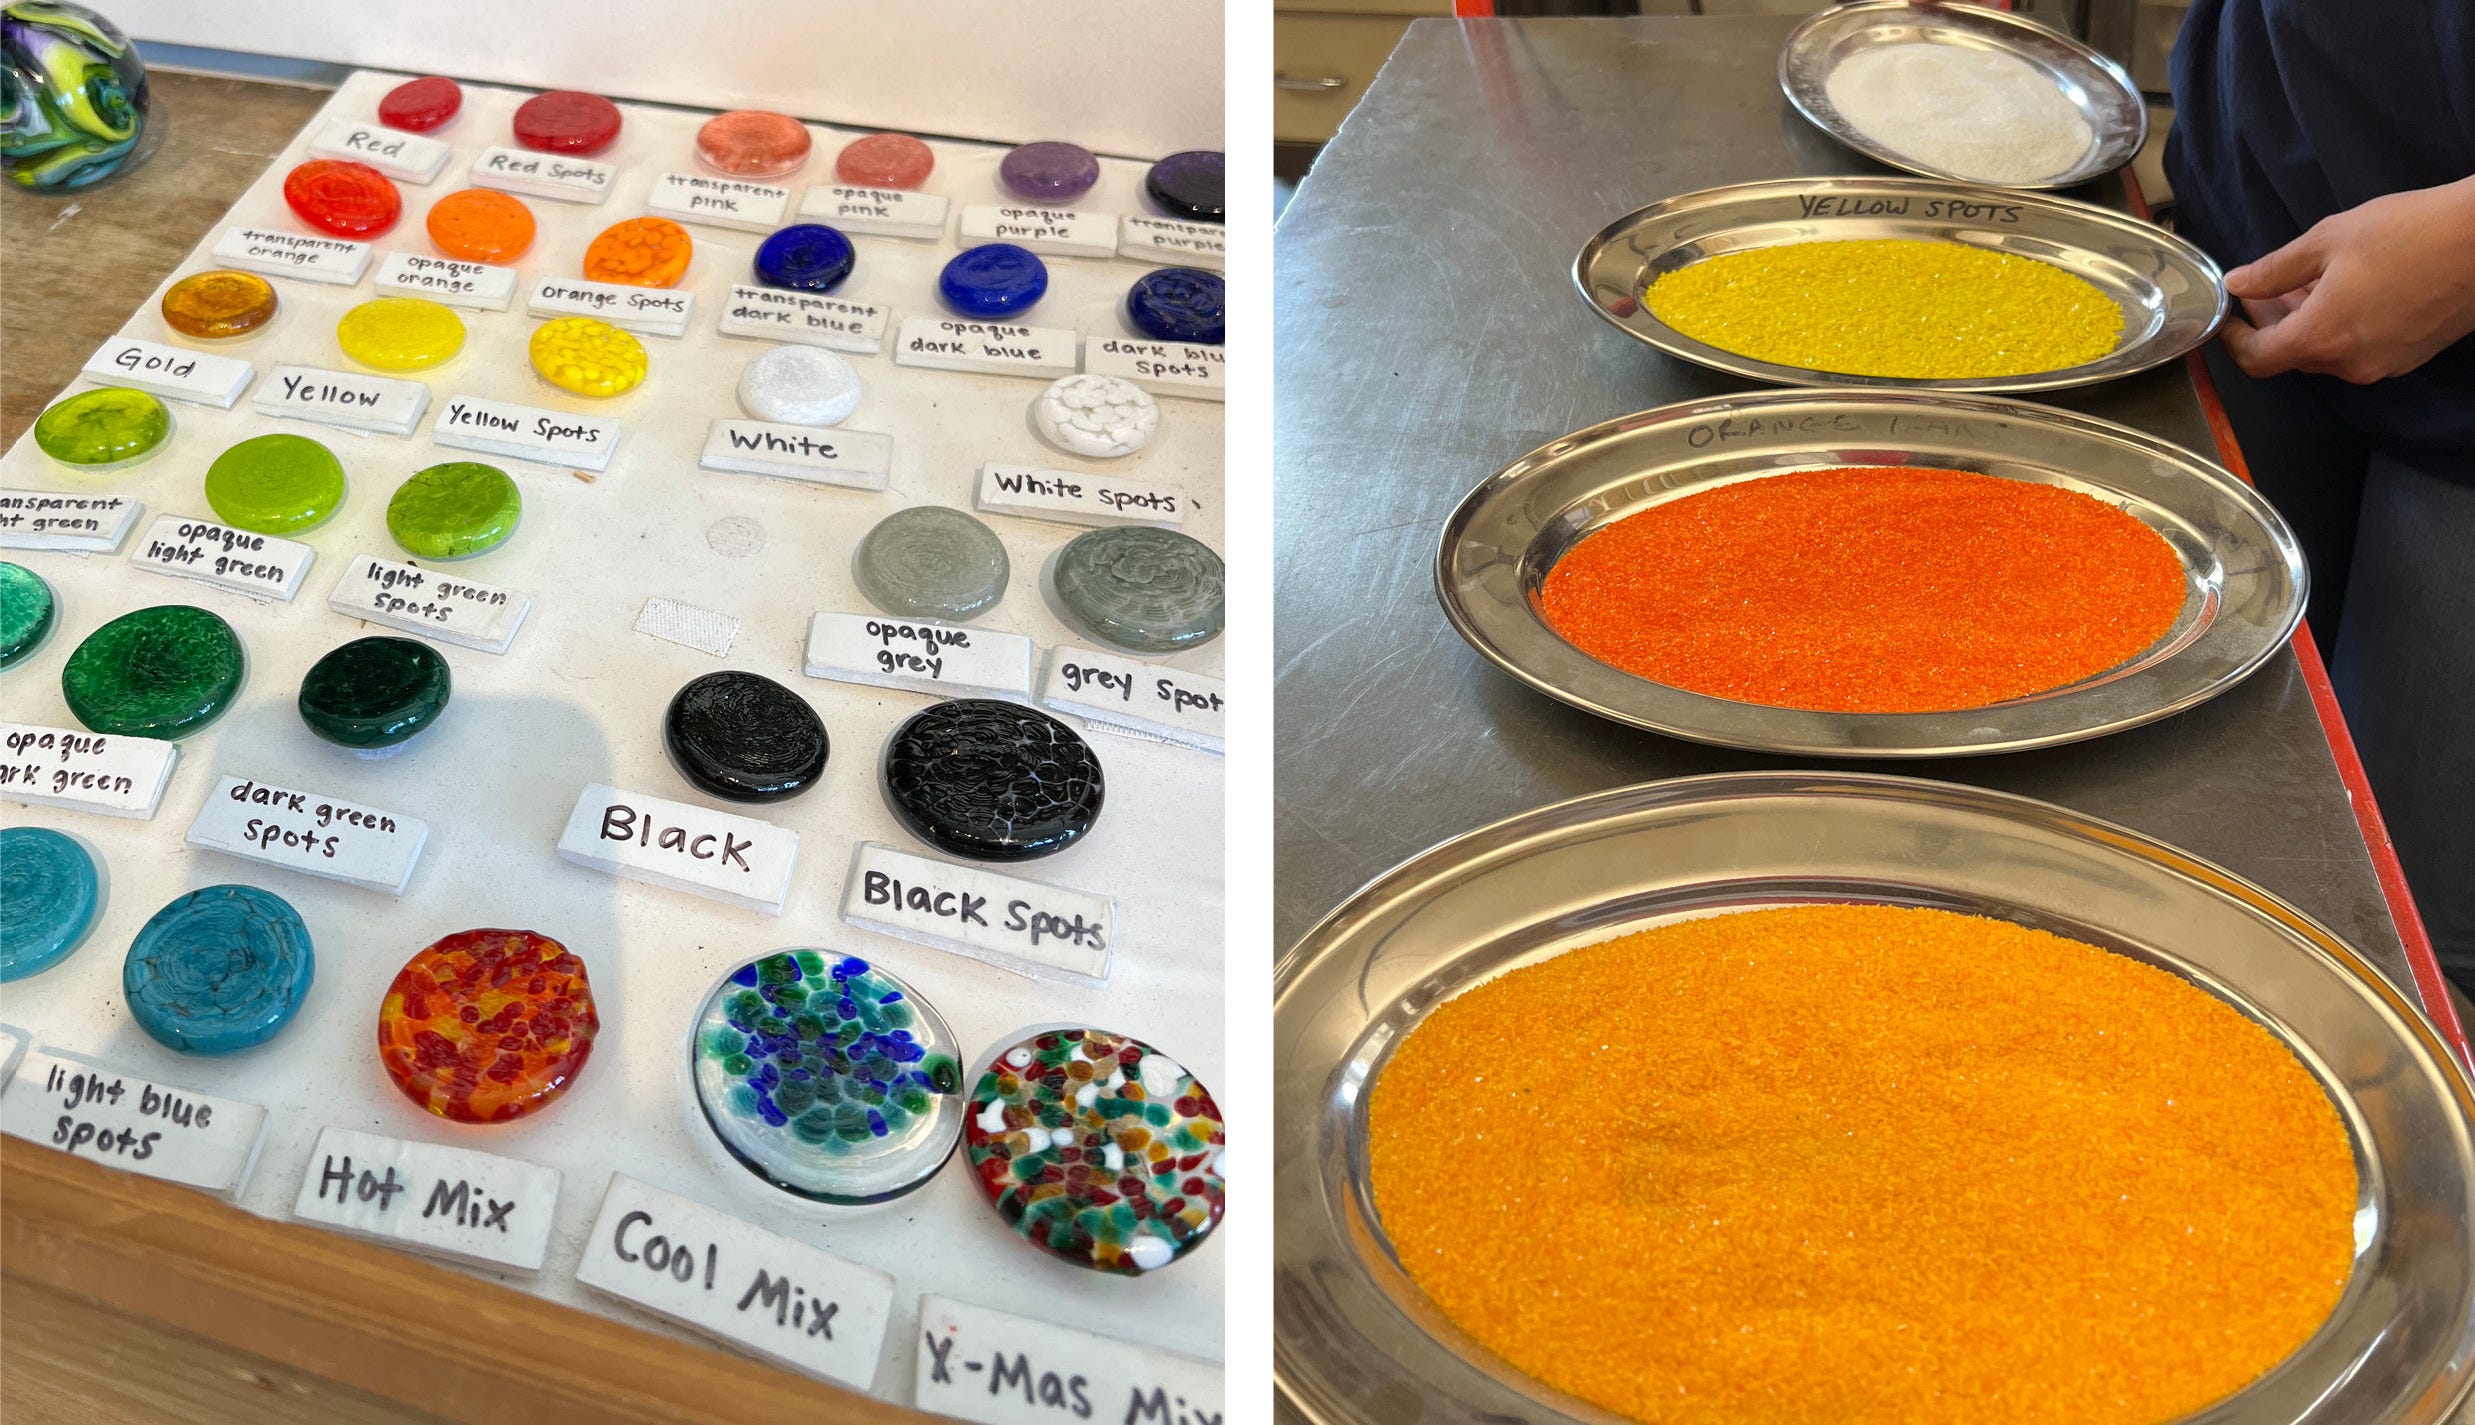
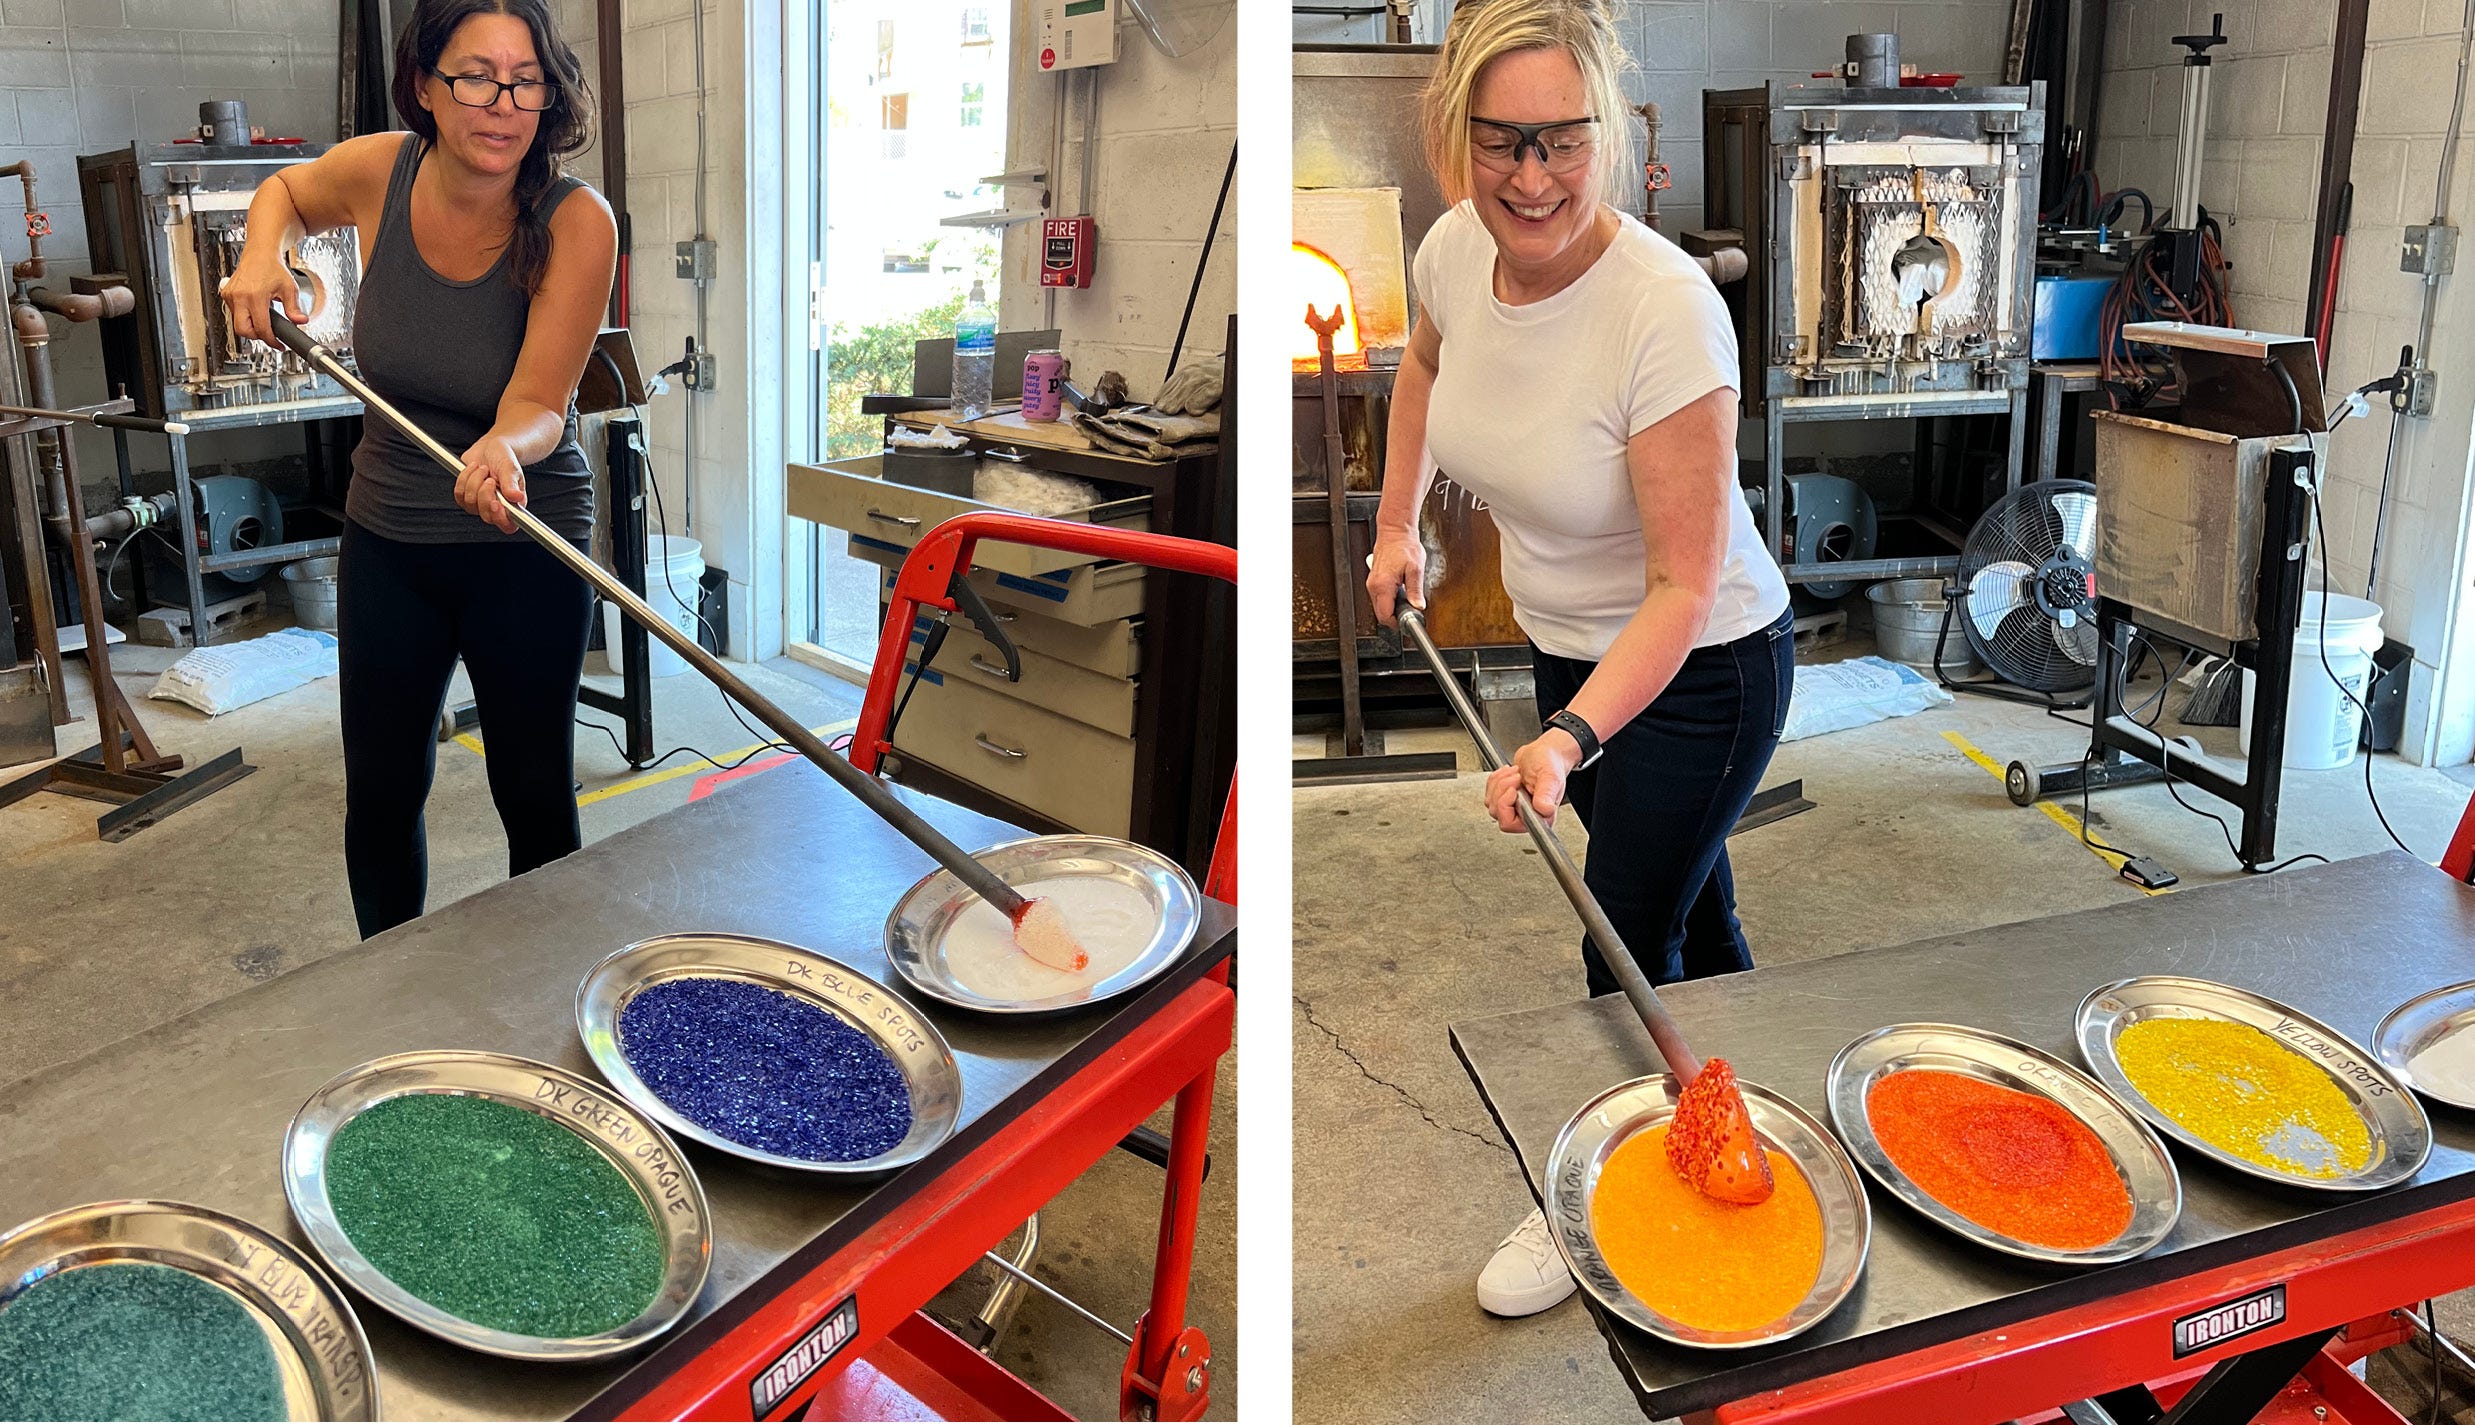
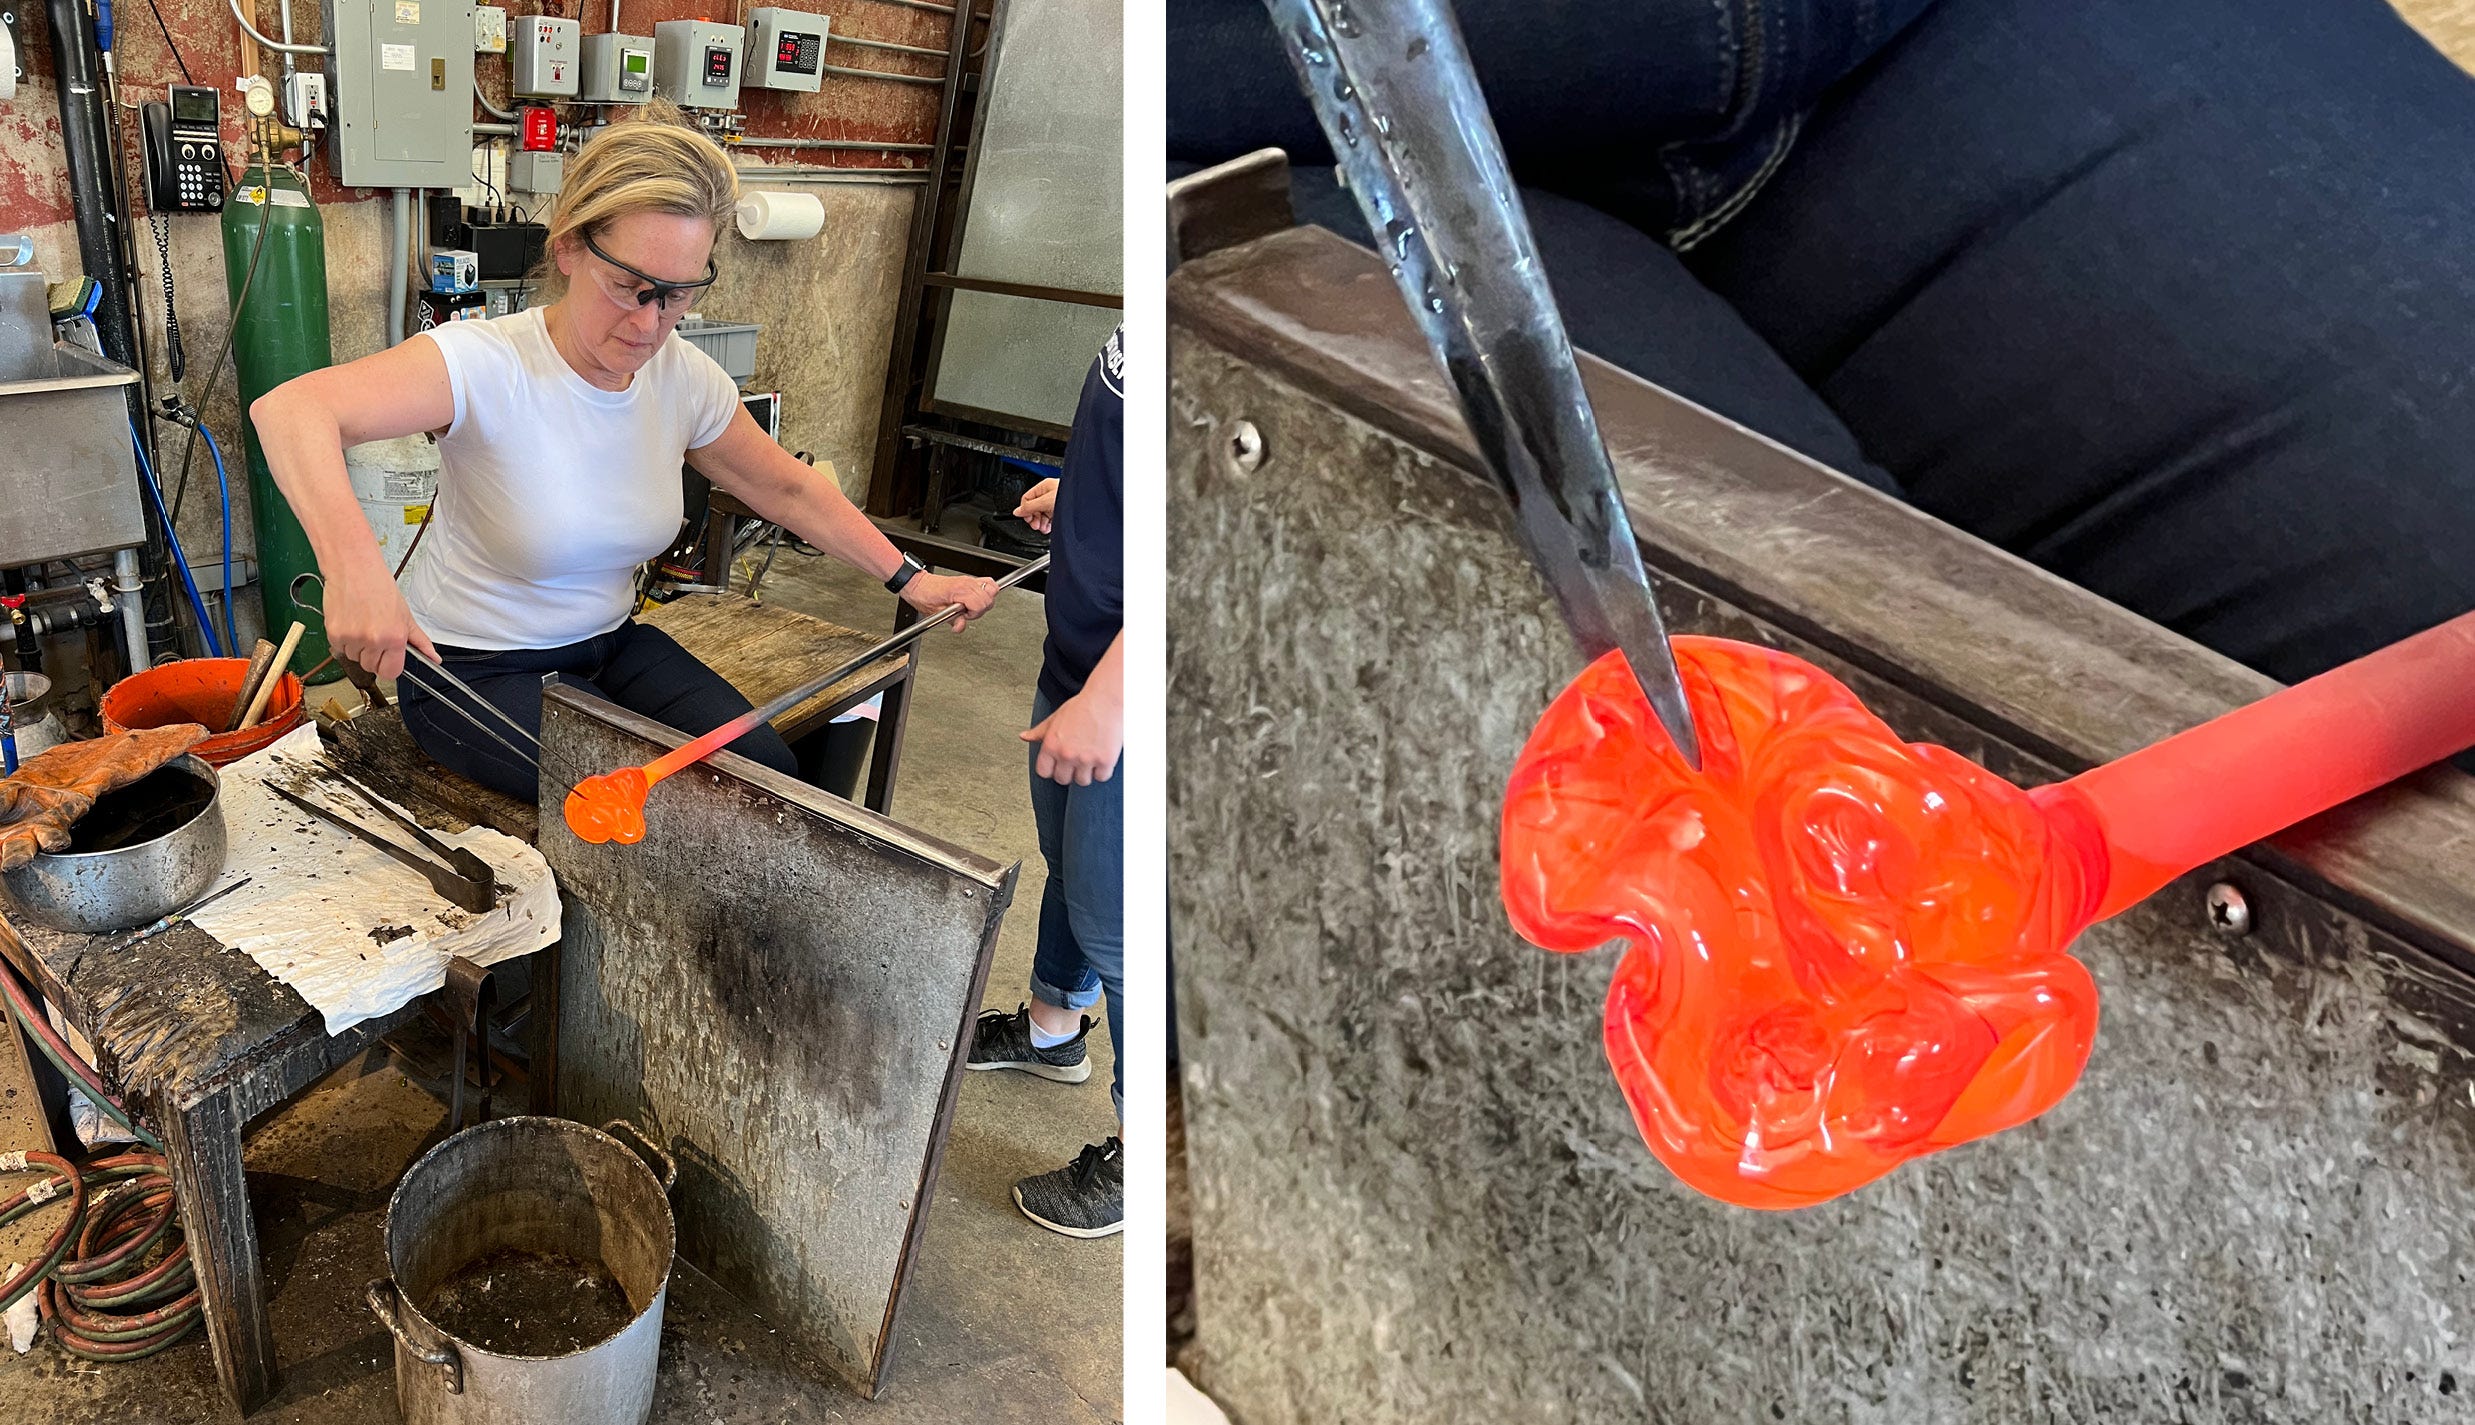
First step in creating our paperweights was to choose colors, which came in the form of glass granules. I opted for shades of orange and yellow, while Nicole chose cooler blues and greens. We reached into the oven using a long pipe, which we kept constantly twirling, to gather our first layer of molten glass. It was the consistency of thick honey or taffy. Interestingly, we learned that when any color of glass is in a melted state, it is always bright orange.
Constantly twirling the pipe so the melted glass stays on reminded me a little of cradling a lacrosse stick. (Not that I ever played, but I practiced with both of my daughters) The idea is to keep the glass on the end of the pipe. If you stop twirling, it drips right off. Before applying our colors, we added a layer of white glass that acts like a background. This is sort of like using gesso on a canvas to insure the color pops. With the first layer of glass on our pipes, we headed to the bench and started twisting and shaping the blob with a tool that looks like a giant pair of tweezers. Then back to the furnace for another larger layer of glass before adding our colors. As glass cools, it becomes stiff and really hard to work with. Cooler colors (like Nicole’s blues and greens) can last a little longer out of the oven, while warmer shades (like my orange) become super hard to work with after 20 seconds. A water-soaked wooden sphere is used to shape the ball.
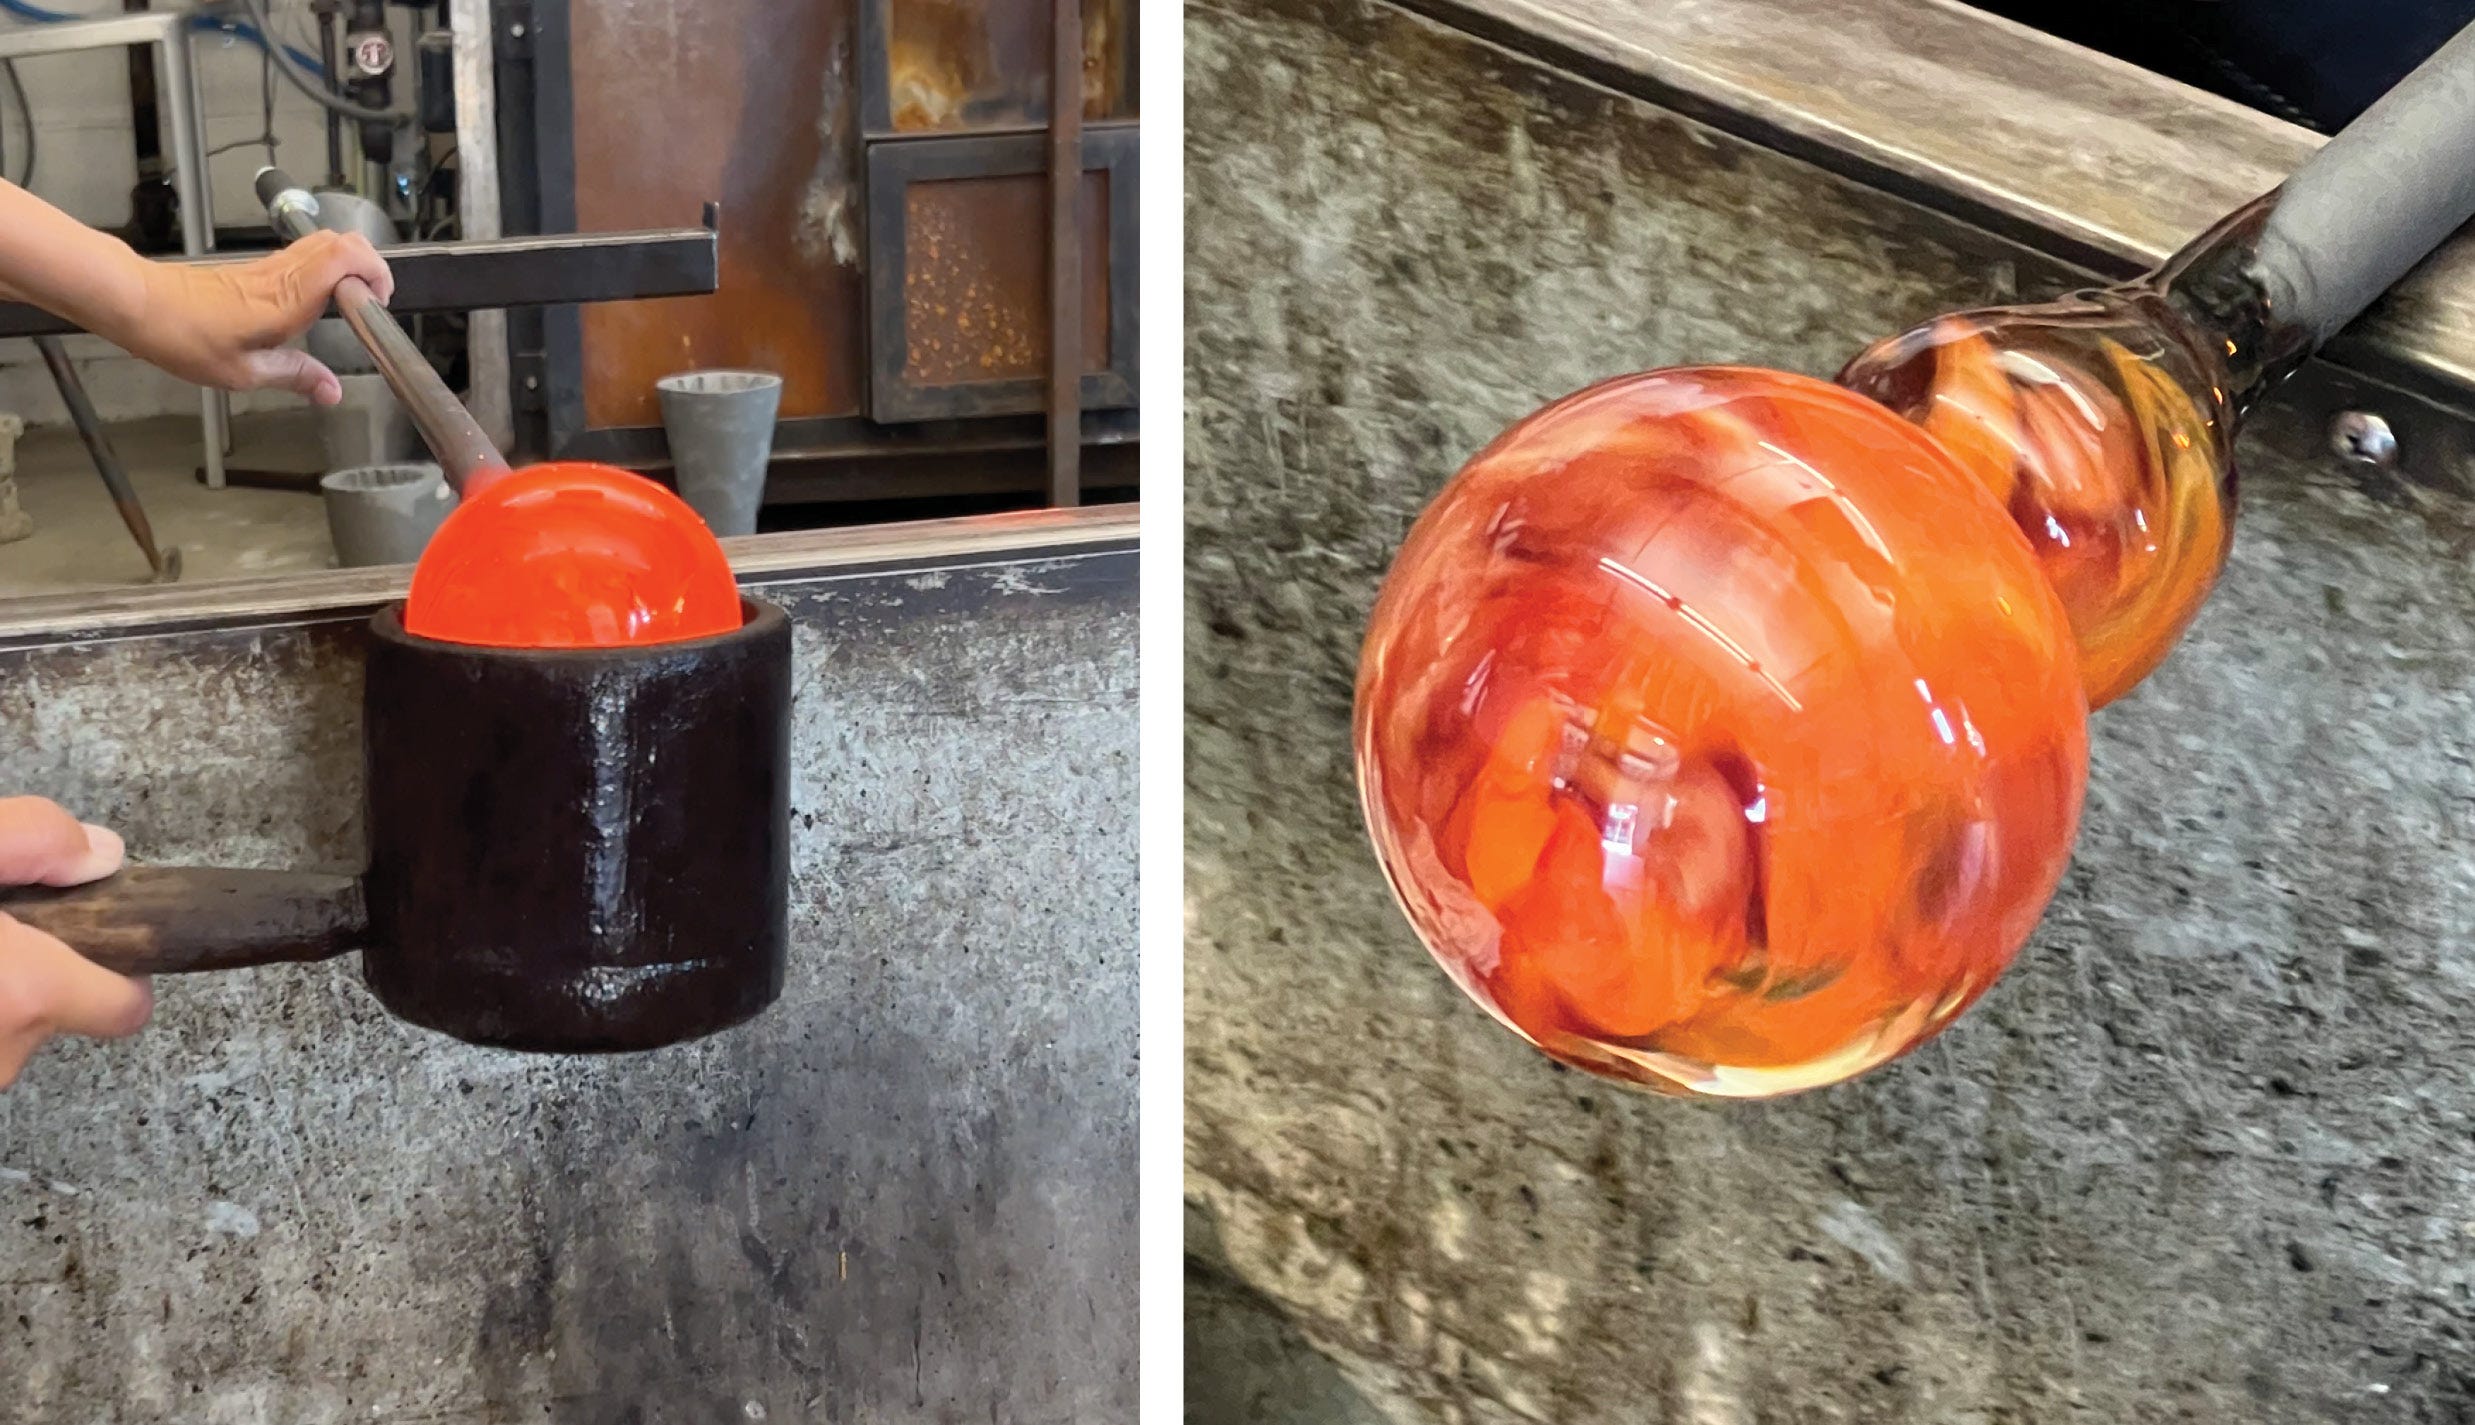
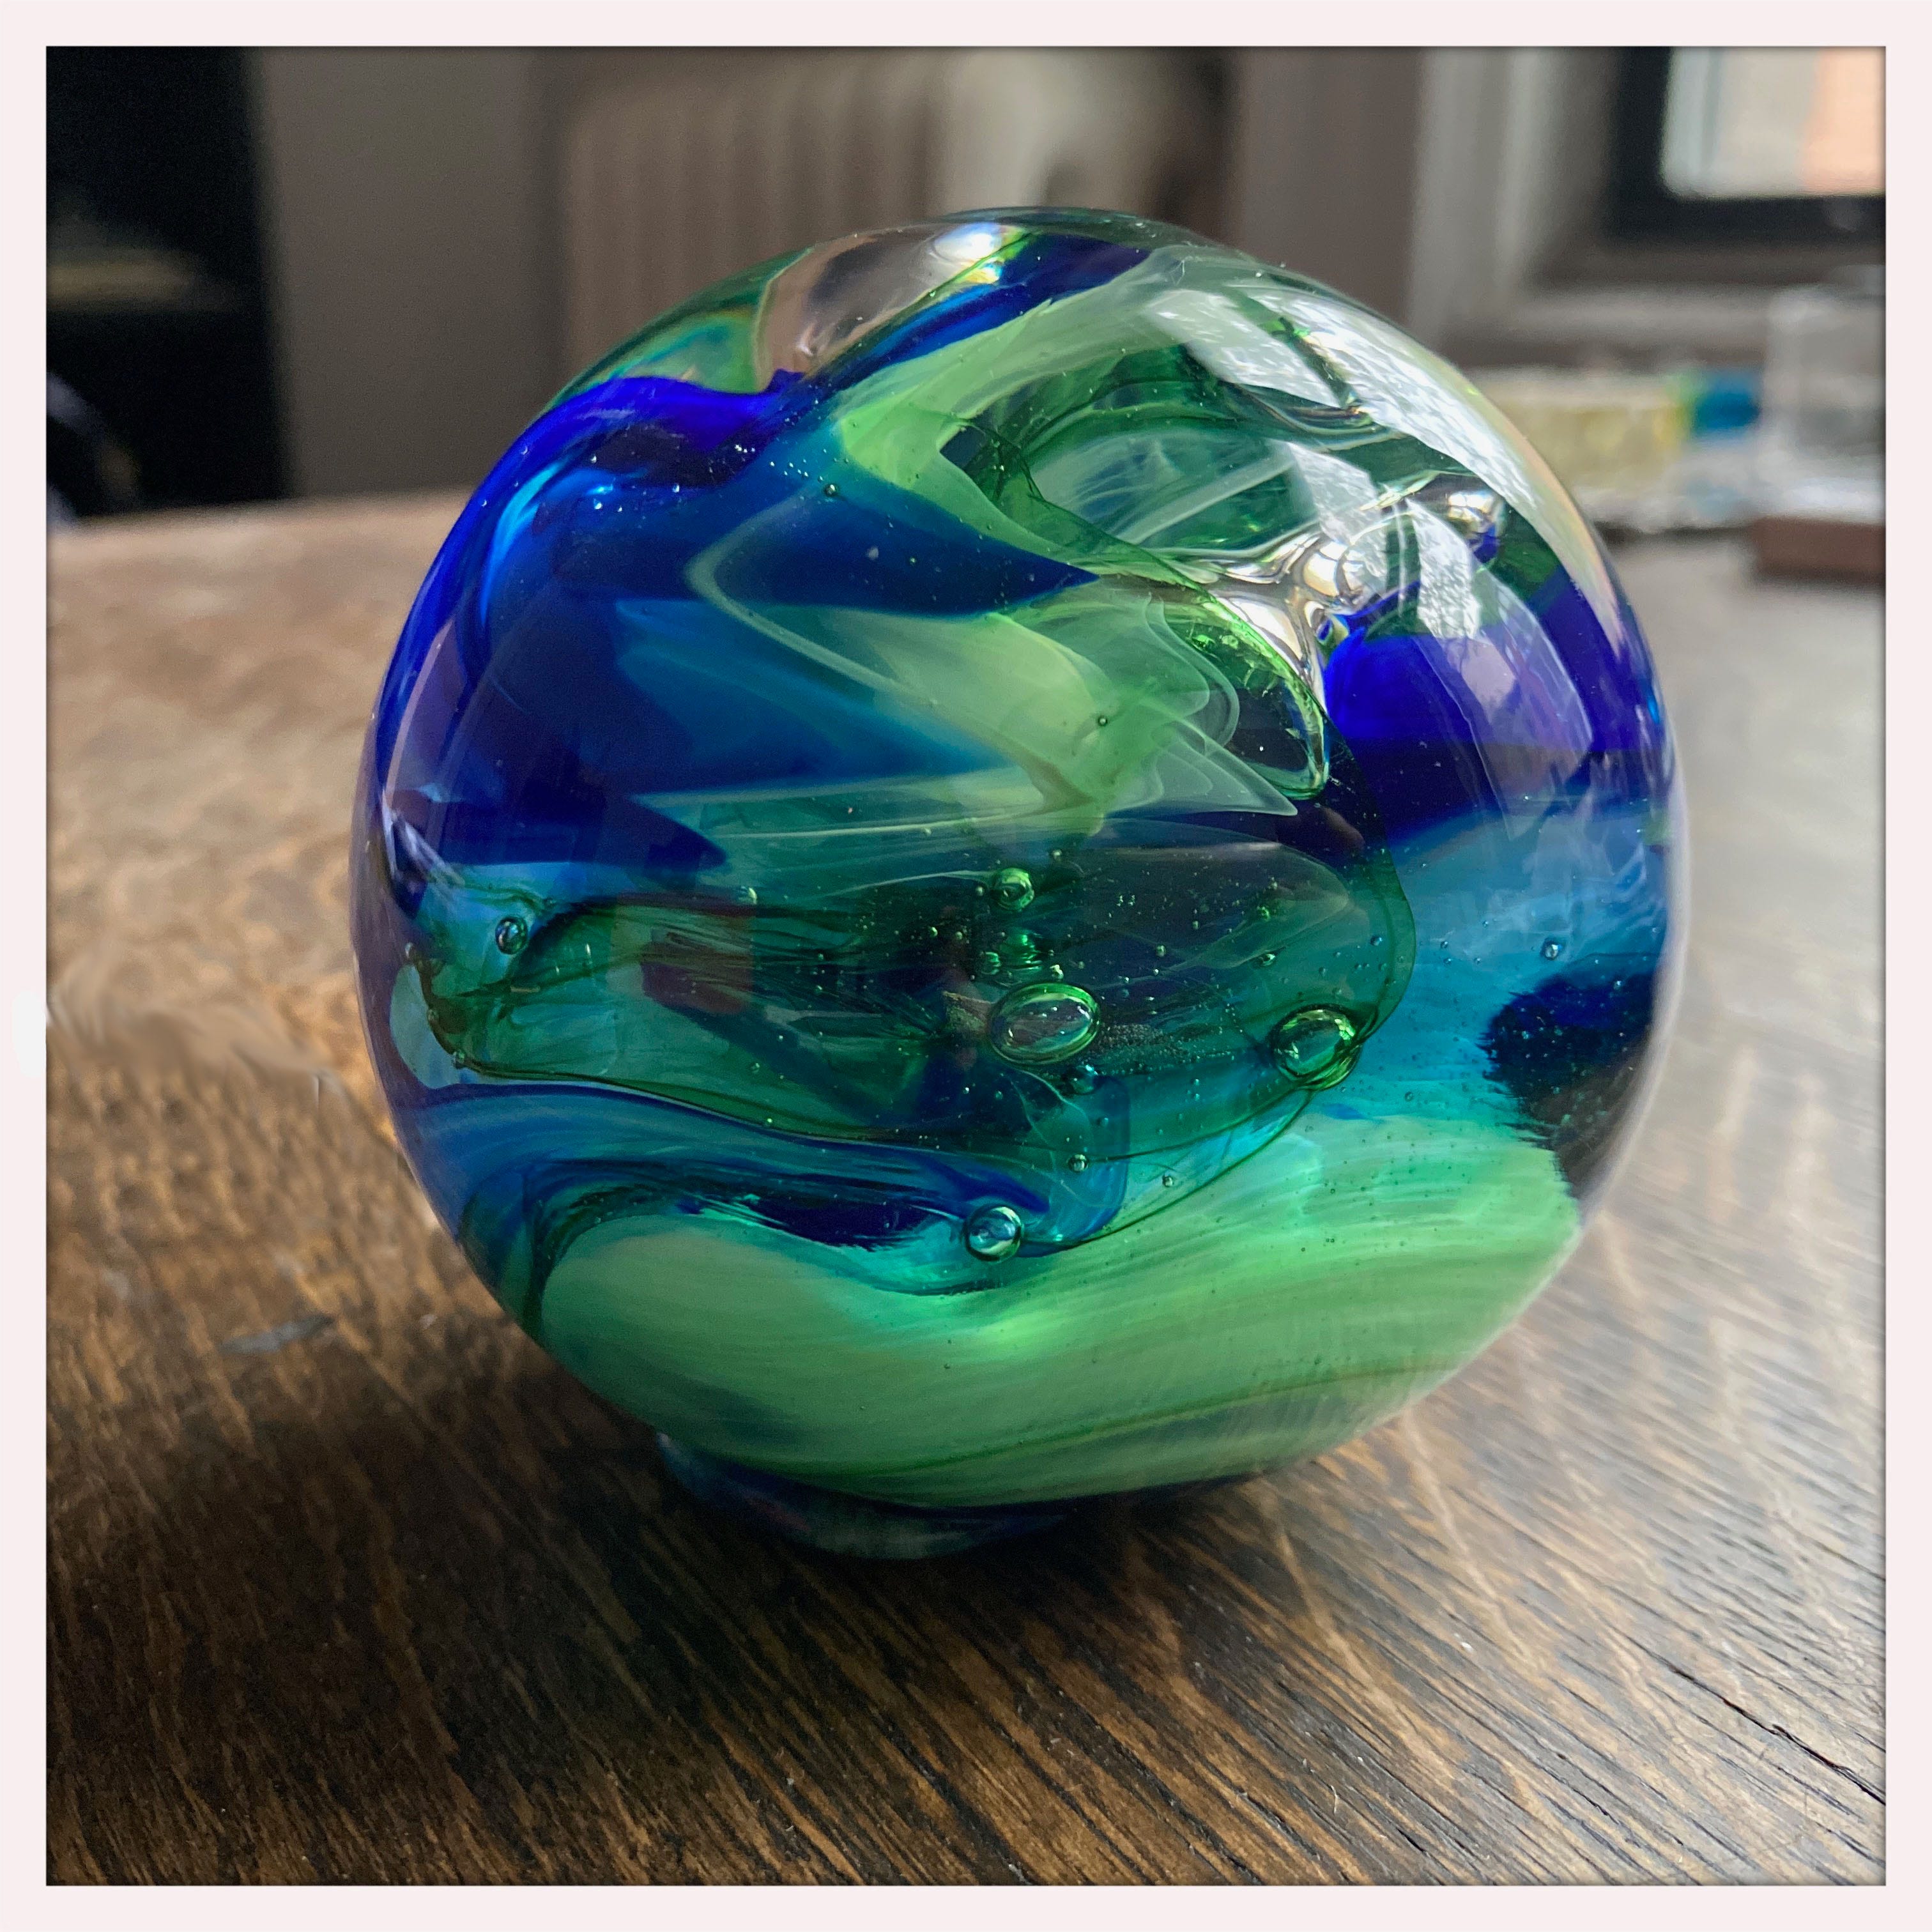
We repeated the process of going back and forth between the oven and bench several times. Once we were satisfied with the shape and size, we removed the paperweight from the pipe and flattened the bottom with a metal spatula-shaped tool. The final step was to place our creations in the annealer to slowly cool down for 24 hours (more rapid cooling causes damages and cracks). I returned the next day to pick up the weights – it was so exciting to see what we had created!
Overall it was super fun, we learned a ton, and now I have a beautiful paperweight, which makes me proud. I can’t wait to do it again!
Wanna come?

Share this post